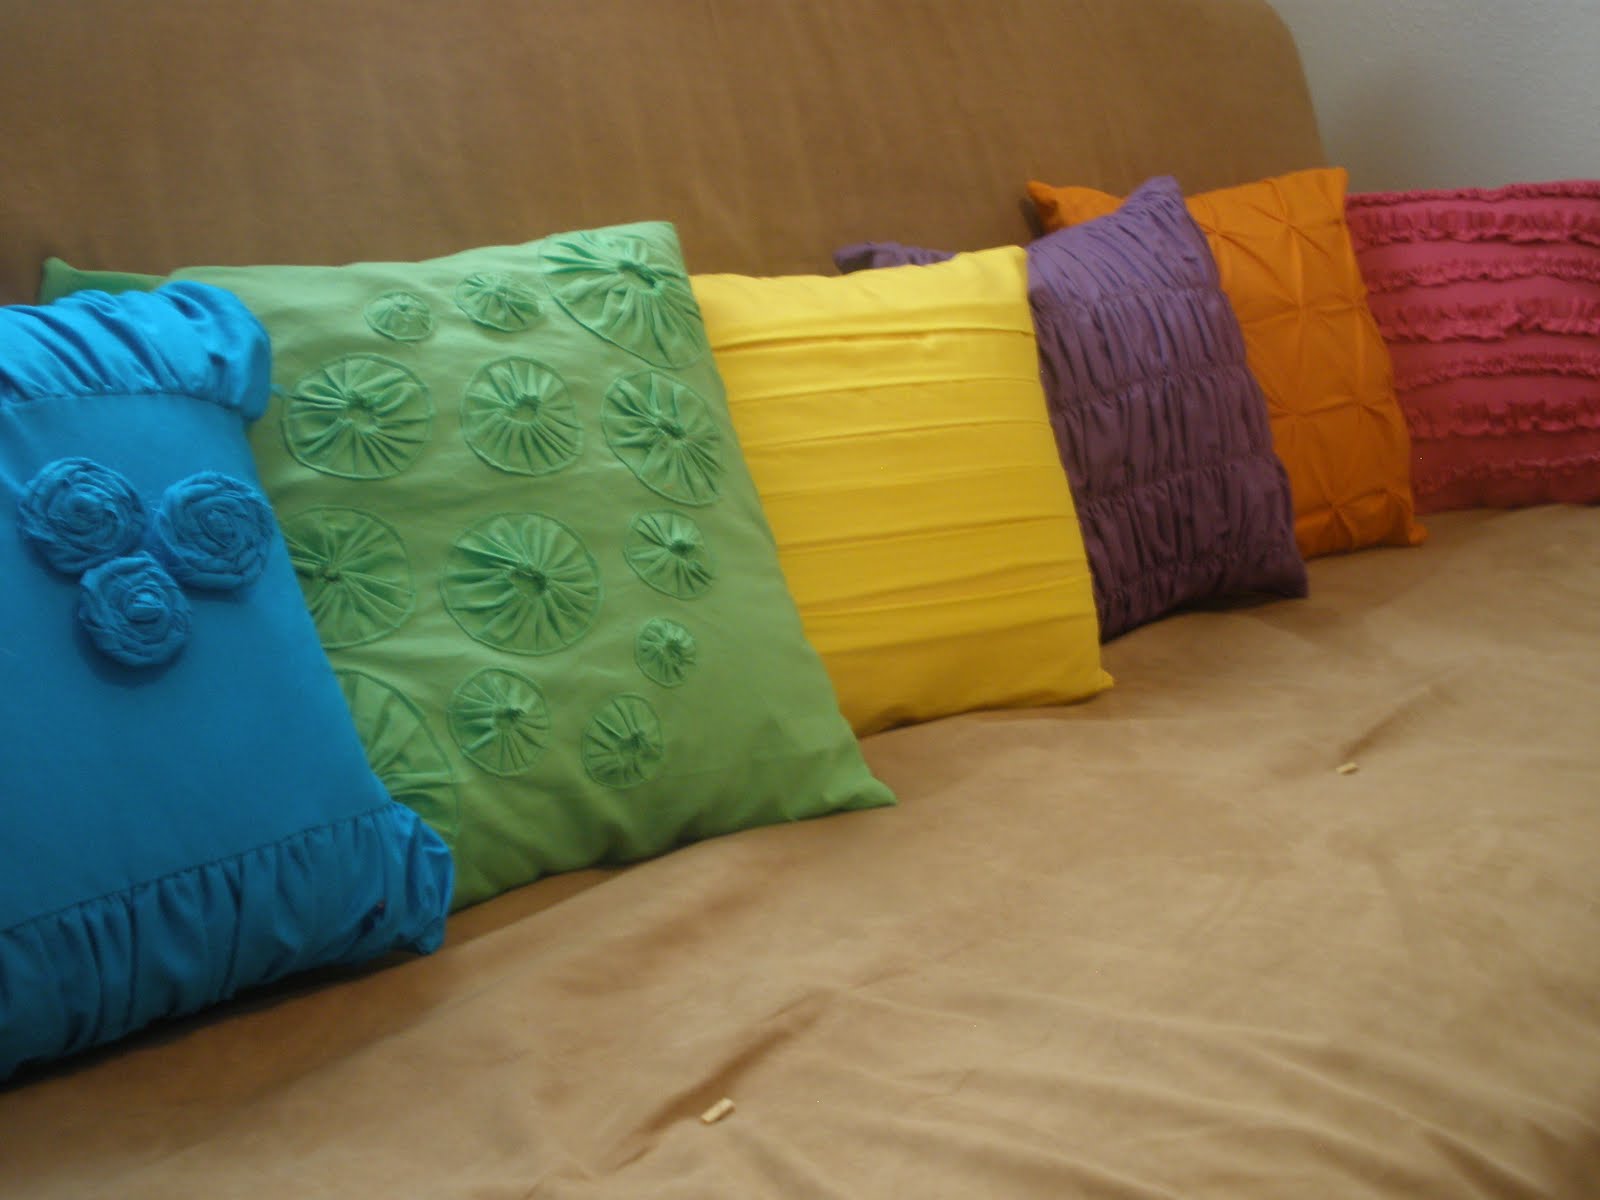
Why didn't I think of this?!?! You could do bigger pieces of fabric and stretch them over a wood frame...and it's a cool wall hanging! There are a LOT of cool shapes and patterns out there to use...
Older kids will love being taught this method of print-making and once they understand what to do they'll want to be left alone to do it all by themselves. Provide some additional materials such as sponges, toothpicks and a comb so that they can play around with different textures. If they like drawing, encourage them to draw custom images for their friends and close family members.
Of course, younger kids can do this too – but they may not be able to wipe the edges of the print as described above. Instead, just let them print onto coloured paper and then cut the paper to stick on the card.
1. Work out what size print you would like to make and mark out the rough dimensions on the back of a baking try, using sticky tape.
2. Roll paint onto the tray, then draw a picture using your finger, a cotton bud or wooden skewer.
3. Wipe around the edges of your print with a damp sponge, using the tape as a guide. Then press the front of the card against the the paint and carefully remove. You should be able to make about three cards from each print. When you've finished, re-apply paint with the roller and do it all again.
You could do this easy with real or silk flowers. I liked how simple and pretty it was! I would put it in a prettier pot, though. Her site tells how to assemble it.