Showing posts with label home decor. Show all posts

Sunday, January 30, 2011

waxed leaves


someday... when i live in a place with pretty leaves i will do this!

http://memoriesoncloverlane.blogspot.com/2009/10/waxing-leaves.html

Friday, September 10, 2010

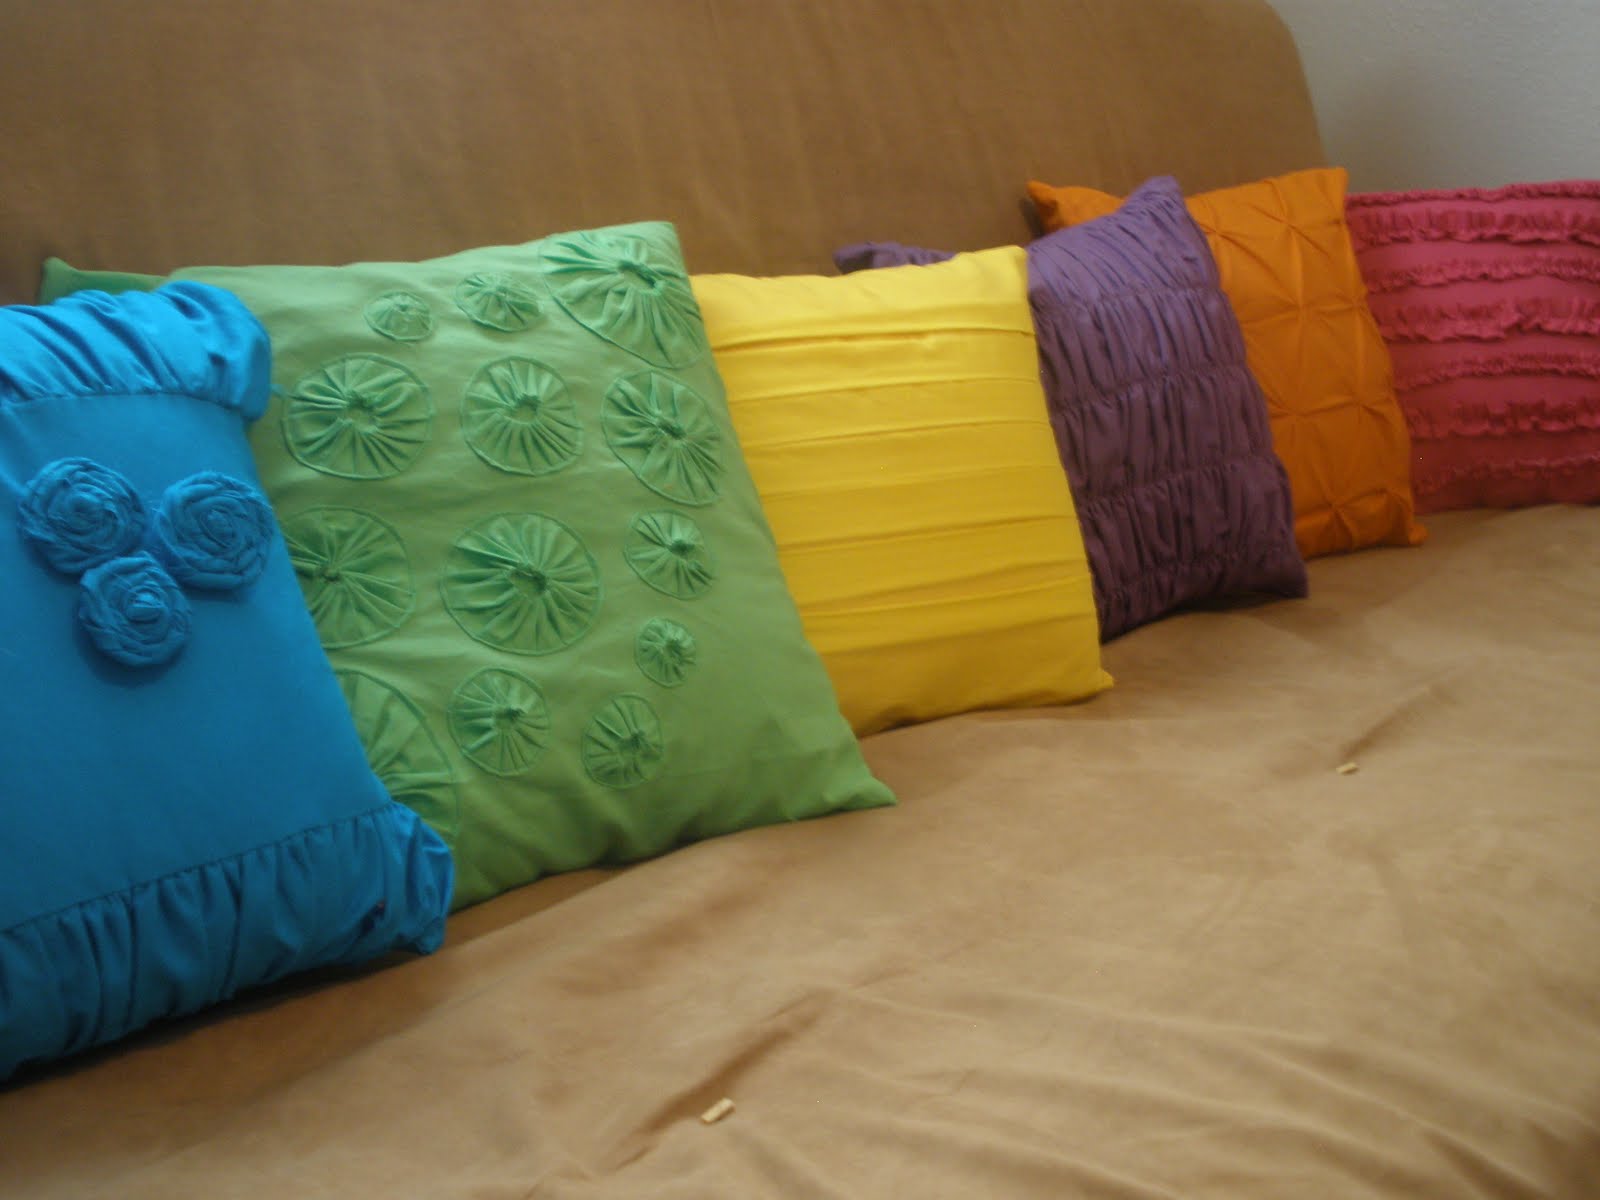
PIllow Tutorials


http://everydayexpressionsfromkanda.blogspot.com/2010/08/brennas-room-re-do-part-1-pillows.html


The links to the individual tutorials are in the post.

Monday, March 8, 2010

Wall Art


I want to make two of these in the kids' room so bad. I think that it would be fun for them to pick out the fabric themselves and then hang them on their walls by their beds. It is so easy too!! I love it. It would be fun to do one for every season and put up somewhere as well. Maybe I could make a huge one for the kitchen wall above the table...hmm, I will think on that one. The tutorial is over at Blue Cricket.

Monday, February 1, 2010

recycled wall art


you can believe that i will be making one of these... now where to put it? :D i dug through my garbages last night to fish out toilet paper tubes to start collecting for it.

http://homemademamas.blogspot.com/2010/01/recycled-wall-art.html

Saturday, December 12, 2009

Wreath stand


i have also been wanting one of these, but haven't even seen them in stores to buy... now i can make one! (why don't i have this creative brain???)

http://shanty2chic.blogspot.com/2009/12/shanty-wreath-hangers.html

hurricane lamp thingies


i will also be making some of these:

http://mybackyardeden.blogspot.com/2009/11/dollar-store-hurricane-lamps.html

make your own apothecaries


i can hardly wait to get to Cedar City so i can make these (rather than making them up here and having to pack them down there...)!

http://shanty2chic.blogspot.com/2009/10/ashleys-fall-apothecary.html

the whole blog is chuck full of really cute things that are so easy to make!

Sunday, November 22, 2009

Spray painted fabric


Why didn't I think of this?!?! You could do bigger pieces of fabric and stretch them over a wood frame...and it's a cool wall hanging! There are a LOT of cool shapes and patterns out there to use...

http://www.vanessachristenson.com/2009/11/tutorial-spraypainted-wheat-pillows.html

Saturday, November 14, 2009

Print making

Oven Tray Print Cards

Older kids will love being taught this method of print-making and once they understand what to do they'll want to be left alone to do it all by themselves. Provide some additional materials such as sponges, toothpicks and a comb so that they can play around with different textures. If they like drawing, encourage them to draw custom images for their friends and close family members.

Of course, younger kids can do this too – but they may not be able to wipe the edges of the print as described above. Instead, just let them print onto coloured paper and then cut the paper to stick on the card.

You will need

blank cards
old baking tray
acrylic paint
paint roller
damp cloth
• cotton buds, toothpicks etc

Directions

1. Work out what size print you would like to make and mark out the rough dimensions on the back of a baking try, using sticky tape.


2. Roll paint onto the tray, then draw a picture using your finger, a cotton bud or wooden skewer.


3. W
ipe around the edges of your print with a damp sponge, using the tape as a guide. Then press the front of the card against the the paint and carefully remove. You should be able to make about three cards from each print. When you've finished, re-apply paint with the roller and do it all again.

Friday, June 5, 2009

Printing on Fabric

Printing on Fabric

By Lisa Otto

Photo Wristlet, Cosmetic Bag, and Key Fob Purse While sewing in itself is fun, so is finding new and exciting ways of embellishing and manipulating fabrics to create something new. Printing on fabric with your home inkjet printer is one of those exciting techniques that allow you to add extra flair to a sewn outfit or creation.

Printing photos and images onto apparel and home décor items has definitely become easier over the past few years with the launch of more effective and long lasting inks and fabric photo papers. So, not only can you capture a beautiful image and apply it to a garment or décor item, but it will last after washings, wear and use.

How do you get started?

Surprisingly, it’s easier than you might think. First, decide what you want to decorate with a printed image. Maybe you’ve sewn your daughter a new summer dress and want to add pictures to the skirt or bodice. Perhaps you’ve created pillows and want to embellish them with printed images. The sky really is the limit when it comes to embellishing sewn projects. Be sure to use a inkjet printer for the methods listed below, and not a laser printer which becomes too hot during the printing process.

Next, you’ll need to decide how you want to transfer your printed images to your project: either by iron- on transfer or sew-on. There are several great options in fabric photo papers (often called T-Shirt transfer paper) on the market. Simply, choose the image you want to print and the size of the finished image, and print it onto fabric photo paper which you feed through your printer. Once the image comes out of the printer and has dried, you iron it onto your project. The ironing process heats the ink and helps to make it permanent. This method works great on fabrics which have a high cotton or natural fiber content and may not work as well on synthetic fabrics, so be sure to read the paper manufacturer’s directions and fabric recommendations.

The sew-on method (as I call it), actually allows you to place fabric in your printer! You’ll need 100% cotton fabric and freezer paper. Then, cut both your fabric swatch and freezer paper to no larger than 8 ½” x 11” or the size of a standard piece of printer paper. Then, place your fabric to the shiny side of the wax paper and iron for a few moments, or until the fabric is slightly stuck to the freezer paper. The fabric/paper combo has a tendency to curl at the edges, so be sure to keep a pencil handy for keeping the curled edges down during printing.

Then, place your fabric/paper into the printer and print your images or text right onto the fabric. Be sure there are no stray threads on any of the edges which may get caught on the way through the printer. And, use the pencil to gently feed any curled areas of the fabric through the printer as it processes. Once dry, remove the paper from the back of the fabric. Then, place the fabric ink-side-down onto an ironing surface, and iron on medium-high heat for 2-3 minutes. This will help set the ink for washing. Once completed, you’ll have a printed fabric swatch to sew onto or within any project that you like!

Now, the question is: What will you decorate first?