Showing posts with label restyled. Show all posts

Friday, September 10, 2010

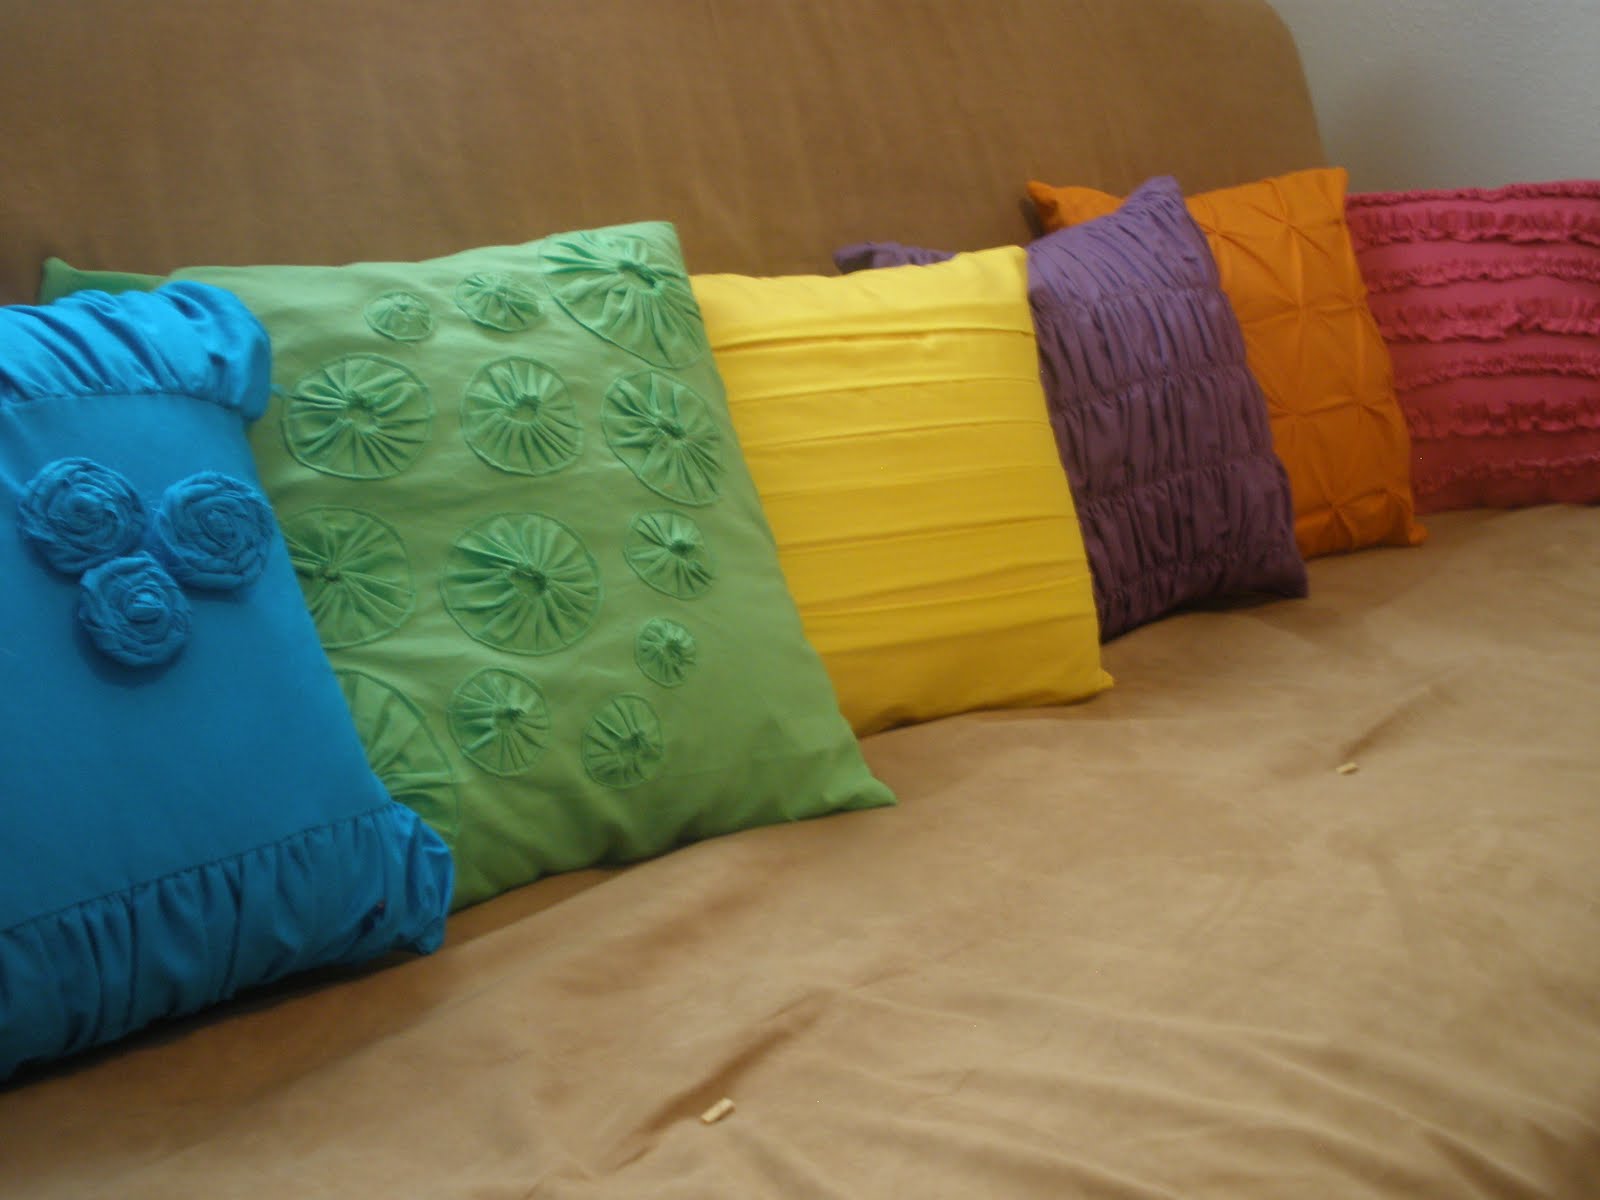
PIllow Tutorials


http://everydayexpressionsfromkanda.blogspot.com/2010/08/brennas-room-re-do-part-1-pillows.html


The links to the individual tutorials are in the post.

Wednesday, January 13, 2010

bubble skirt


and then... after you made the little knee high's from the too short tights, make this cute bubble skirt!

http://www.rufflesandstuff.com/2009/12/bubble-skirt-from-tights-scraps.html

tiny tights to knee high socks

i think these are SO adorable and look like something that LIZ & CALLIE might just die for!

http://www.rufflesandstuff.com/2009/12/tiny-tights-to-knee-high-socks.html

i think they would be perfect for spring time and early summer when it is still a little cooler. :)

Sunday, November 22, 2009

Cardigan to Hat


http://thirtyhandmadedays.blogspot.com/2009/11/hi-everyone-i-am-so-honored-to-be-here.html

Play Kitchen from an old Entertainment center


I have been looking for a simple way to convert my old entertainment center into a play kitchen for the basement...now I just need to convince Lane he doesn't need it for the new "TV room..."

Cute!!!

Restyled Men's Shirts


http://thecreativecrate.blogspot.com/2009/04/from-mens-shirt-to-little-girls-dress.html

A more modest version of the jumper I found a while back.

Resizing a Shirt


A tutorial to make shirts bigger or smaller! Plus, it's cute!

Saturday, November 14, 2009

How to make a hat and scarf from a sweater

Something for the boys! Yay!
I got this sweater vest at the Dollar Store several days ago (sweaters at the Dollar Store? How random is that??) and I just knew it was dying to be a little beanie and scarf set! I'm so excited to have a project for little boys!
This would actually work best with a sleeved sweater (then you could just use sleeves for a scarf!), but this is what I had, so...
1) Measure your child's head, and cut out a hat shape through both layers (I free-handed this, but if you had another beanie to trace around, that would be great!), then cut a large rectangle shape through both layers for the scarf.

2) Lay the two scarf pieces right side together and pin the non-banded end. Sew with a zig-zag stitch, being careful not to let it stretch too much.

3) Cut out your "face" shapes from felt or fleece. 4 ears, two big circles for eyes, and two slightly smaller circles for the pupils, and a little triangle nose.
4) Lay two of the ear shapes on top of the other two, and sew around the edges with your machine. (not pictured)
5) Pin the ears to the right side of the beanie, facing downward. Lay the other piece of the beanie on top of it(right sides together), with ears sandwiched in between, and pin.
6) Sew the two hat pieces together, leaving the banded side open.
7) Take your scarf piece and fold it over, right sides together, and pin. Sew all the way down the side.
8) Turn the scarf right side out, and sew the banded edges closed.
9) Pin the face shaped where you want them, and hand stitch them on.

Ta-da!

Tuesday, September 1, 2009

Old Entertainment Center


I have almost this exact entertainment center in my basement. Maybe I should put it under the window in the mud room to hold winter/summer stuff depending on the season?!?! I could even put some hooks in the tall space for little coats/jackets...

http://creationsbykara.blogspot.com/2009/03/saved-from-dump-thank-goodness.html

Wednesday, May 13, 2009

Thursday, February 19, 2009

Embellished Hand Sanitizers


How fun are these? Kristin, I think that you should give these to your SILs as part of their gifts. I love that you can leave them out where ever and they are actually nice looking.
Here is the post about it.